Win和Mac都可以安装Comfyui版AnimateDiff
Win ComfyUI安装
1、下载和解压提供的WIN & MAC 通用Comfyui安装包,下载链接。
2、在里面的updata文件夹里面,先双击运行一下update_comfyui.bat 升级一下最新版本
3、进入ComfyUI_windows_portable\ComfyUI\custom_nodes文件夹,在箭头的导航栏位置输入cmd回车
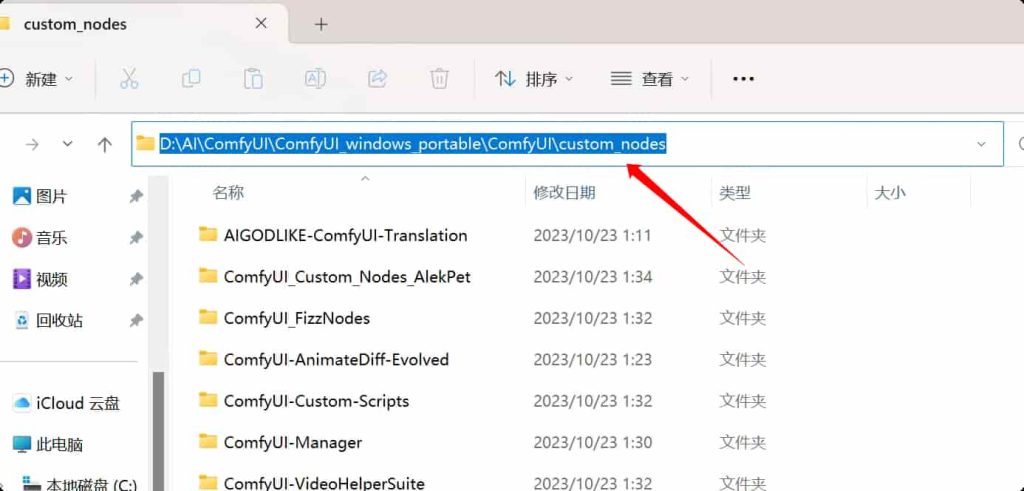
确保命令代码已经在这个custom_nodes目录内
 然后依次输入下面3段代码安装3个插件,切记要分开一段段输入,回车安装(如果显示不是内部命令,证明没有安装git,本教程页面最下面的第3点方法安装git)
git clone https://github.com/ltdrdata/ComfyUI-Managergit clone https://github.com/AIGODLIKE/AIGODLIKE-ComfyUI-Translation.gitgit clone https://github.com/Kosinkadink/ComfyUI-AnimateDiff-Evolved
4、按照本页教程最上面AnimateDiff专用模型的放置位置放置模型。
而Stablediffusion常用的大模型则是放在 ComfyUI_windows_portable\ComfyUI\models\checkpoints里面,
Lora则放在 ComfyUI_windows_portable\ComfyUI\models\loras里面
Mac ComfyUI安装
1、下载和解压提供的WIN & MAC 通用Comfyui安装包,下载链接。
2、用终端打开里面的ComfyUI
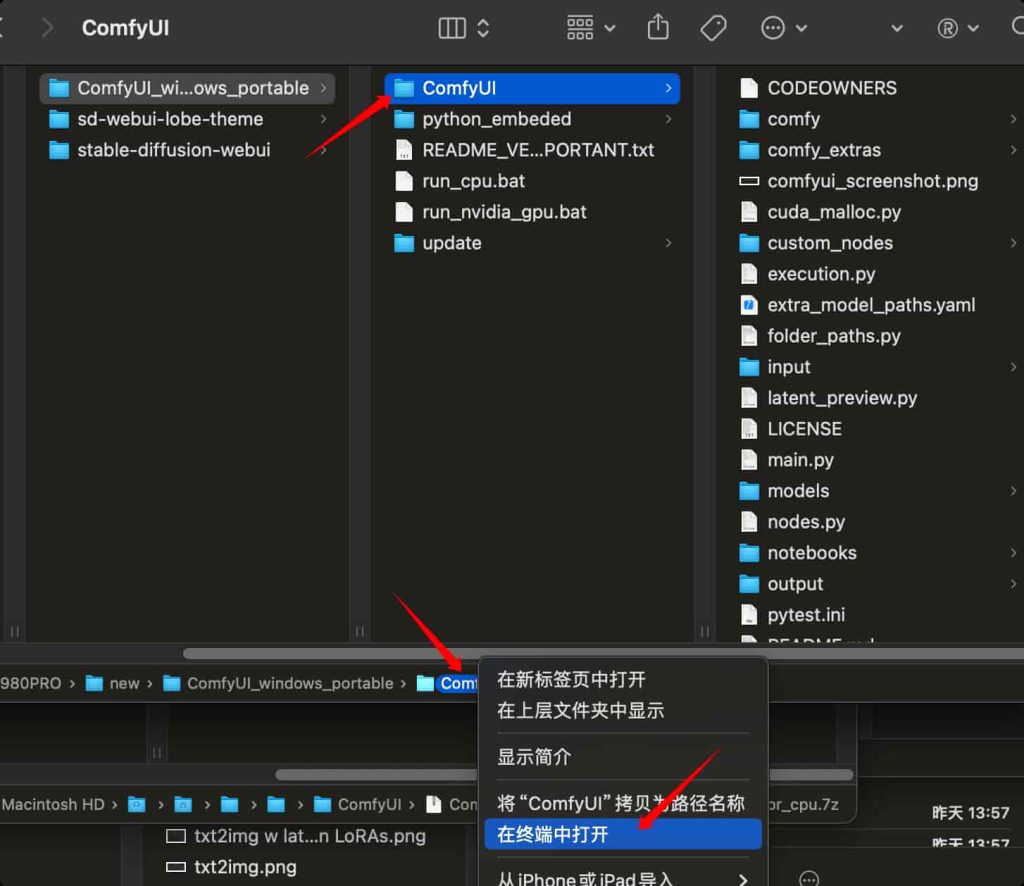
3、确保终端代码能定位到ComfyUI这个文件夹,然后输入
pip install -r requirements.txt 或者 pip3 install -r requirements.txt

4、这时候关闭终端,去到ComfyUI_windows_portable/ComfyUI/custom_nodes文件夹,用第二步的方式用终端打开custom_nodes这个文件夹。然后依次输入下面3段代码安装3个插件,切记要分开一段段输入,回车安装(如果显示不是内部命令,证明没有安装git,本教程页面最下面的第3点方法安装git)
git clone https://github.com/ltdrdata/ComfyUI-Managergit clone https://github.com/AIGODLIKE/AIGODLIKE-ComfyUI-Translation.gitgit clone https://github.com/Kosinkadink/ComfyUI-AnimateDiff-Evolved
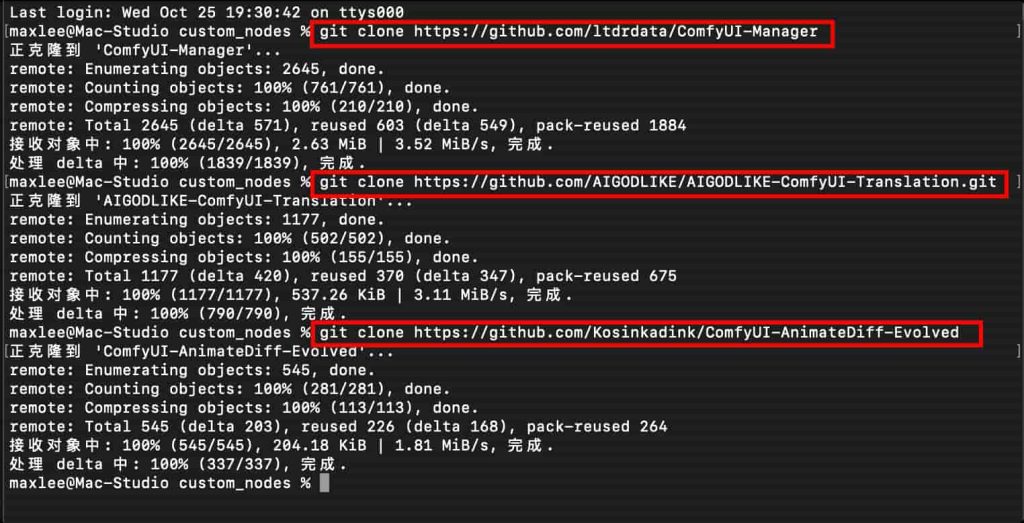
5、按照本页教程最上面AnimateDiff专用模型的放置位置放置模型。(注意AnimateDiff专用模型和stablediffusion大模型放置的路径是不一样的)
而Stablediffusion常用的大模型则是放在ComfyUI_windows_portable\ComfyUI\models\checkpoints里面,
Lora则放在ComfyUI_windows_portable\ComfyUI\models\loras里面
6、回到comfyui文件夹,用终端运行这个文件夹,输入python main.py或者python3 main.py
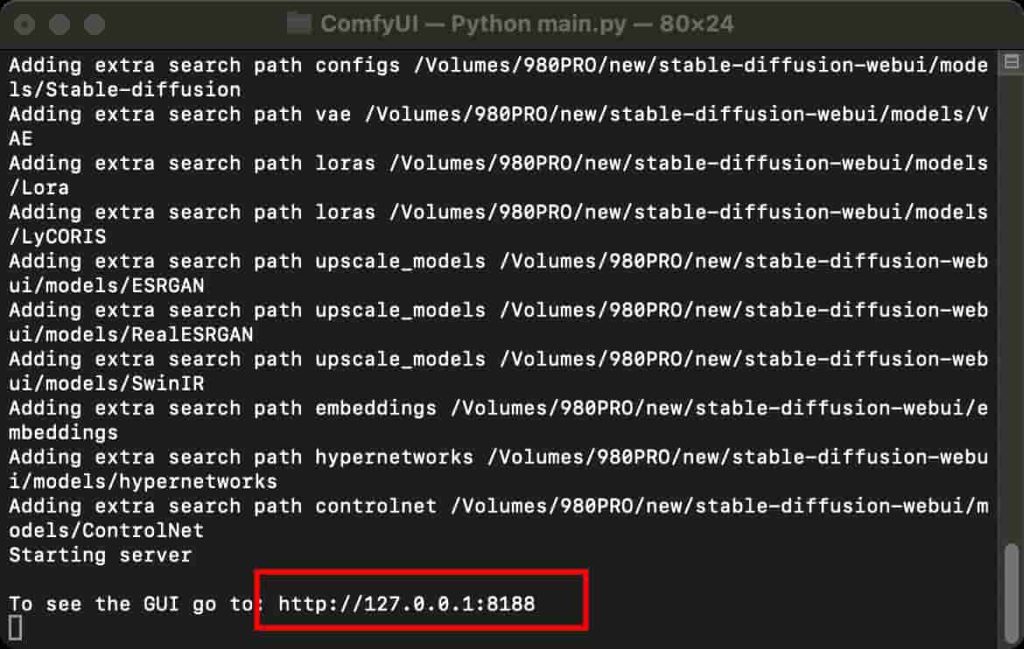
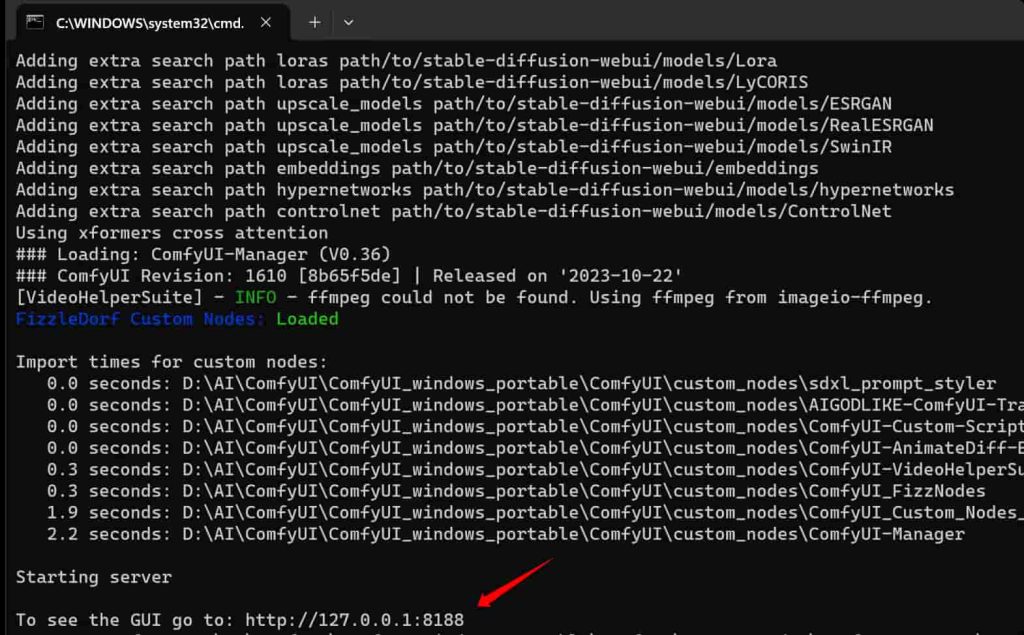
 看到有http://127.0.0.1:8188 地址出现,把这个地址在浏览器打开即可进入ComfyUI界面。
